At the end of each week I sit down and strategize my menu for the next week. I normally make my dinner selections with a “take it or leave it mindset”, which basically means, “you’ll eat what I feel like cooking, or go hungry.” However, over the past month I’ve let my husband participate in my sacred menu-making-process… and he has asked for the same exact thing every single time. Chili. Seriously, every week. Chili. So, every week I ask him, “Would you like me to make any changes? Add ingredients? Try a different recipe?” And week-after-week his answer is always the same; “No changes. I want the same chili as last time.”
As his wife I actually appreciate his repetitive request; (1) This is a super easy recipe, (2) It makes about 6 servings of chili, so I always have leftovers, (3) It’s super easy to pack in a lunch box for him to take to work, and (4) I love grilled cheese sandwiches, and grilled cheese and chili go together like Captain Kirk and Spock.
CHILI INGREDIENTS:
2 pounds Ground Beef, (or Deer)
4 Garlic Cloves, Chopped
1 White Onion, Chopped
Three 15-ounce cans Tomato Sauce (Red Gold)
Salt, to Taste
1/2 teaspoon Cayenne Pepper
1 teaspoon Ground Oregano
1 tablespoon Ground Cumin
1 tablespoon Chili Powder
1/4 cup Maseca Corn Flower / Masa (Mexican Corn Flower)
1 can Diced Tomatoes and Chilies (Rotel)
Cheddar Cheese, Grated
Optional: 1 can Pinto Beans, Drained
Optional: 1 can Kidney Beans, Drained
GRILLED CHEESE INGREDIENTS (Makes 2 Sandwiches):
4 slices Sourdough Bread
Butter, melted
4 Slices Sharp Cheddar Cheese
3 Slices Colby Jack Cheese
Parmesan Cheese, Grated

INSTRUCTIONS:
In a large skillet, over medium heat, cook the ground beef, onions, and garlic.

Drain the excess grease… Hack: I lay a paper towel on a paper plate and sit my strainer on top of it, the paper towel and plate catch all the grease so I can easily discard it later. Plus, you really don’t want all that grease to go down your drain!

Transfer the meat/onion/garlic mixture to a large pot, and add all three cans of Tomato Sauce.

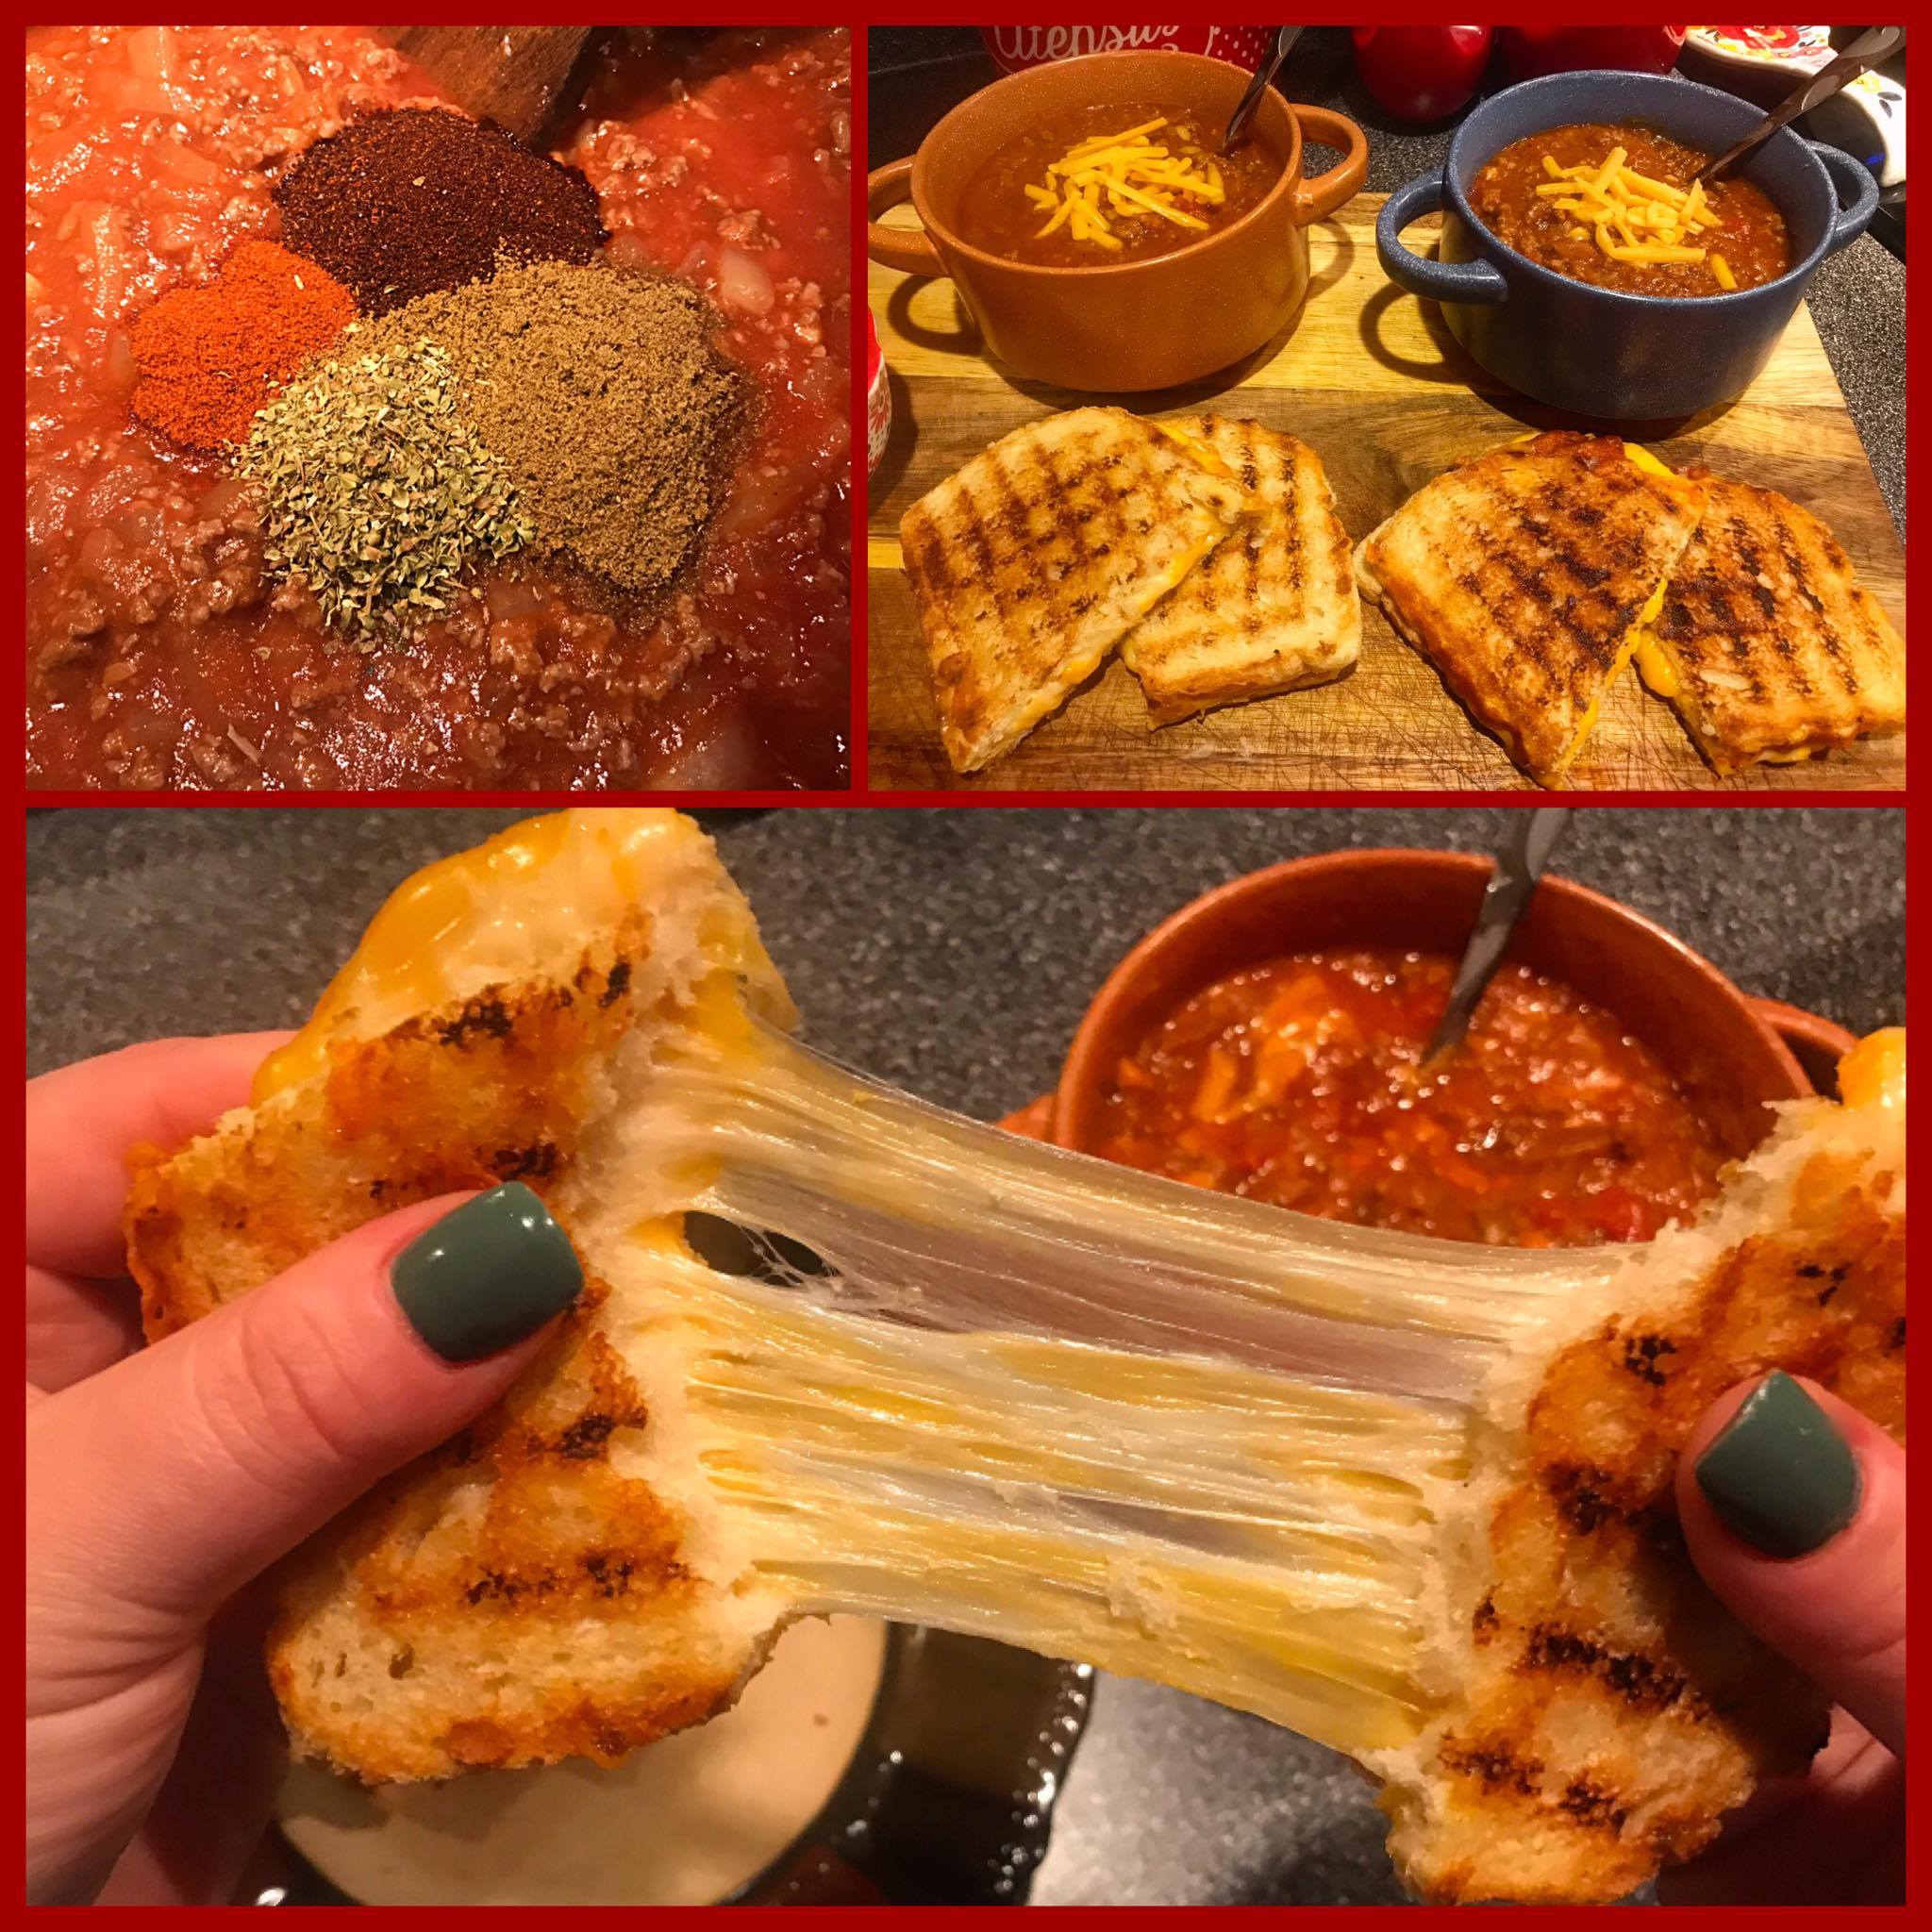
Now, add a dash of salt, followed by the Cayenne Pepper, Oregano, Cumin, and Chili Powder.

Stir together, give it a taste test, and adjust spices accordingly. Then cover the pot and simmer for 1 hour, stirring occasionally.

1 hour later… Place the Maseca in a small bowl and add 1/2 cup warm water. Stir the mixture with a fork.

… pour the Maseca mixture in the chili, and mix it in. It’s beautiful, isn’t it?

Now, add the can of Tomatoes and Chilis. This is also when you would add the beans, if you want them. Stir well.

Now, put the lid back on the pot and allow the chili to simmer for 10 more minutes, during which time we will be preparing our grilled cheese sandwiches.
So, first you’ll need to butter the bread. I melt a few tablespoons of butter in a microwave safe bowl, then paint it onto the bread.

However, you can use a butter knife and rub softened butter on the bread, if that’s what you’re into. I just like finding excuses to use my pretty flowered brush.
 Now, place the bread, buttered side down, on a skillet or stovetop press. Note: After the buttered side has browned a little I flip the bread over and let the unbuttered side grill for a bit, I like the extra crunch. Then I flip the bread back over, buttered side down.
When the bread is almost done grilling begin adding the cheese. First, add two slices of Sharp Cheddar to each sandwich… (Note: You can’t see the sandwich tops, but they are there, I promise. They and underneath the press.)

… followed by 1 and 1/2 pieces of Colby Jack to each sandwich. Then, the best part… Sprinkle each sandwich with freshly grated Parmesan.

Now, pop on the sandwich tops. Let them heat up until the cheese has melted, then begin flipping and rotating the sandwiches on the press, (or in the skillet) until they are cooked to your liking. Remove from heat and set aside…

And DINNER IS READY! Serve with shredded cheddar, and some onions…. Also… Keep reading!

My husband adds Fritos to his, Yum! But keep reading for my favorite part…

Look at that cheese!!! But that still isn’t my favorite part… Keep reading.

THIS is my favorite part; DIPPING!

Cook Long and Prosper, the Uncustomary Housewife!
Leave a Reply